
Who doesn’t love perfectly fluffy, flaky pumpkin scones with maple glaze? I developed this recipe when I was really craving a pumpkin scone. There’s no bakery that makes them quite right in my town so I took matters into my own hands. I adapted this recipe from my Maple Pecan Scones and it turned out beautifully! I kept in the brown sugar for that extra tender texture. The glaze is almost the same as well! Why mess with a perfect creation, you know?
What makes these Pumpkin Scones with Maple Glaze so amazing?
Pumpkin: Pretty essential in a pumpkin scone, right? Pumpkin replaces half of the usual heavy cream added in this recipe. It does an excellent job at providing great flavor and texture to this scone.
Pumpkin pie spice: Another essential ingredient in anything pumpkin! Pumpkin pie spice is made of cinnamon, nutmeg, cloves, ginger, and allspice. Basically, pumpkin pie spice is all my favorite ingredients in one convenient package. You can buy this at the store or make your own.
Brown sugar: Brown sugar gives these scones their fluffy texture. The molasses in brown sugar adds extra moisture while the extra sugar weakens the gluten structure creating that tender, melt-in-your-mouth consistency.
Maple glaze: This maple glaze is completely irresistible!! I could take a bath in this icing. The maple compliments the pumpkin and spices so well. I absolutely love it!

Tips for success
- Freeze your butter. You’ll have to cut up your butter into tiny pieces before anything else. I like to do this step first and then pop it in the freezer while I prepare my other ingredients. Cold butter is the key to getting flaky scones! Cold chunks of butter in your dough will melt and create pockets. This is where your flakiness comes from! It’s also how they create laminated pastries like croissants and puff pastry.
- Preheat your baking sheet. While your oven is preheating, toss your baking sheet in the oven. Baking scones on an already preheated baking sheet will help you get the perfect crispy outside while keeping the inside soft.
- Fold your dough. This is THE secret to extraordinary, flaky scones. Once again, Rose Levy Beranbaum is an absolute genius. Her secret to flaky scones is folding them like croissants before baking. Most scone recipes just have you flatten the dough and cut it immediately. This recipe will have you roll out the dough and fold it over itself 3 times. This helps evenly distribute all those butter chunks so that you’ve got literally hundreds of flaky layers. Scroll down to see pictures of this process!
- Add in the cream slowly. 115g was the perfect amount of cream for my scones, but it is very difficult to measure exactly how much liquid you need. It depends on several factors such as the dough temperature, type of cream, mix-ins, and how you measured the ingredients. You want to add enough cream so that all the flour is coated, but not so much that the dough becomes wet and sticky. It should easily fall off your hands when you pick it up. Make sure you completely mix up the dough after adding 115g of cream. The dough continues to come together the more you mix it. The most common mistake people make with scone is adding too much cream because scone dough often looks dry. Your dough should look something like this.

The secret to beautiful, flaky scones!!
To get hundreds of flaky layers in your scones you have to fold your dough!
Start by rolling the dough into an 8×12 inch rectangle like the picture. It doesn’t have to be perfect. Just make sure it’s about the length of your forearm.

Next, fold your dough in thirds “hamburger style.” In other words, fold the top and bottom toward the center. Then, turn the dough so that the seam runs vertically, like the picture below.

Re-roll the dough into an 8×12 inch rectangle and repeat this fold and turn 2 more times. Finally, roll into an 8×12 inch rectangle one last time to cut the scones.
Cut into 8 pieces

Troubleshooting
Why is my dough so sticky?
If your dough sticks together in one ball, there is too much liquid. You can try adding some flour 1 Tbs at a time until it corrects itself. Your dough should be a shaggy mess that separates itself in large chunks.
My dough won’t stick together.
If your dough is a crumbly mess that won’t stick together, try adding more cream 1 Tbs at a time.
Mixing method
This recipe requires you to cut cold butter into the flour. This makes sure that all your flour gets coated in fat, meaning it will weaken the structure of the scone to give it a delicate crumb. Adding the liquid in last allows you to get the perfect texture for your scone dough. You can always add more or less cream to your dough than the recipe calls for.

Make ahead/Freezing
Scones are 100x better when freshly baked. However, you can freeze these scones after they have been baked and glazed. Just wrap them tightly in plastic wrap and set out at room temperature to thaw when you’re ready to eat it. Or, you can freeze these scones unbaked for up to three months in an airtight bag or container. If you do this, bake them like normal, but add an extra 8-12 minutes to the baking time. You can also leave the frozen scone dough to thaw in the fridge overnight and bake them the next day. Store scones at room temperature for 2-4 days. Make sure they are wrapped tightly!
If you love these you’ll also love
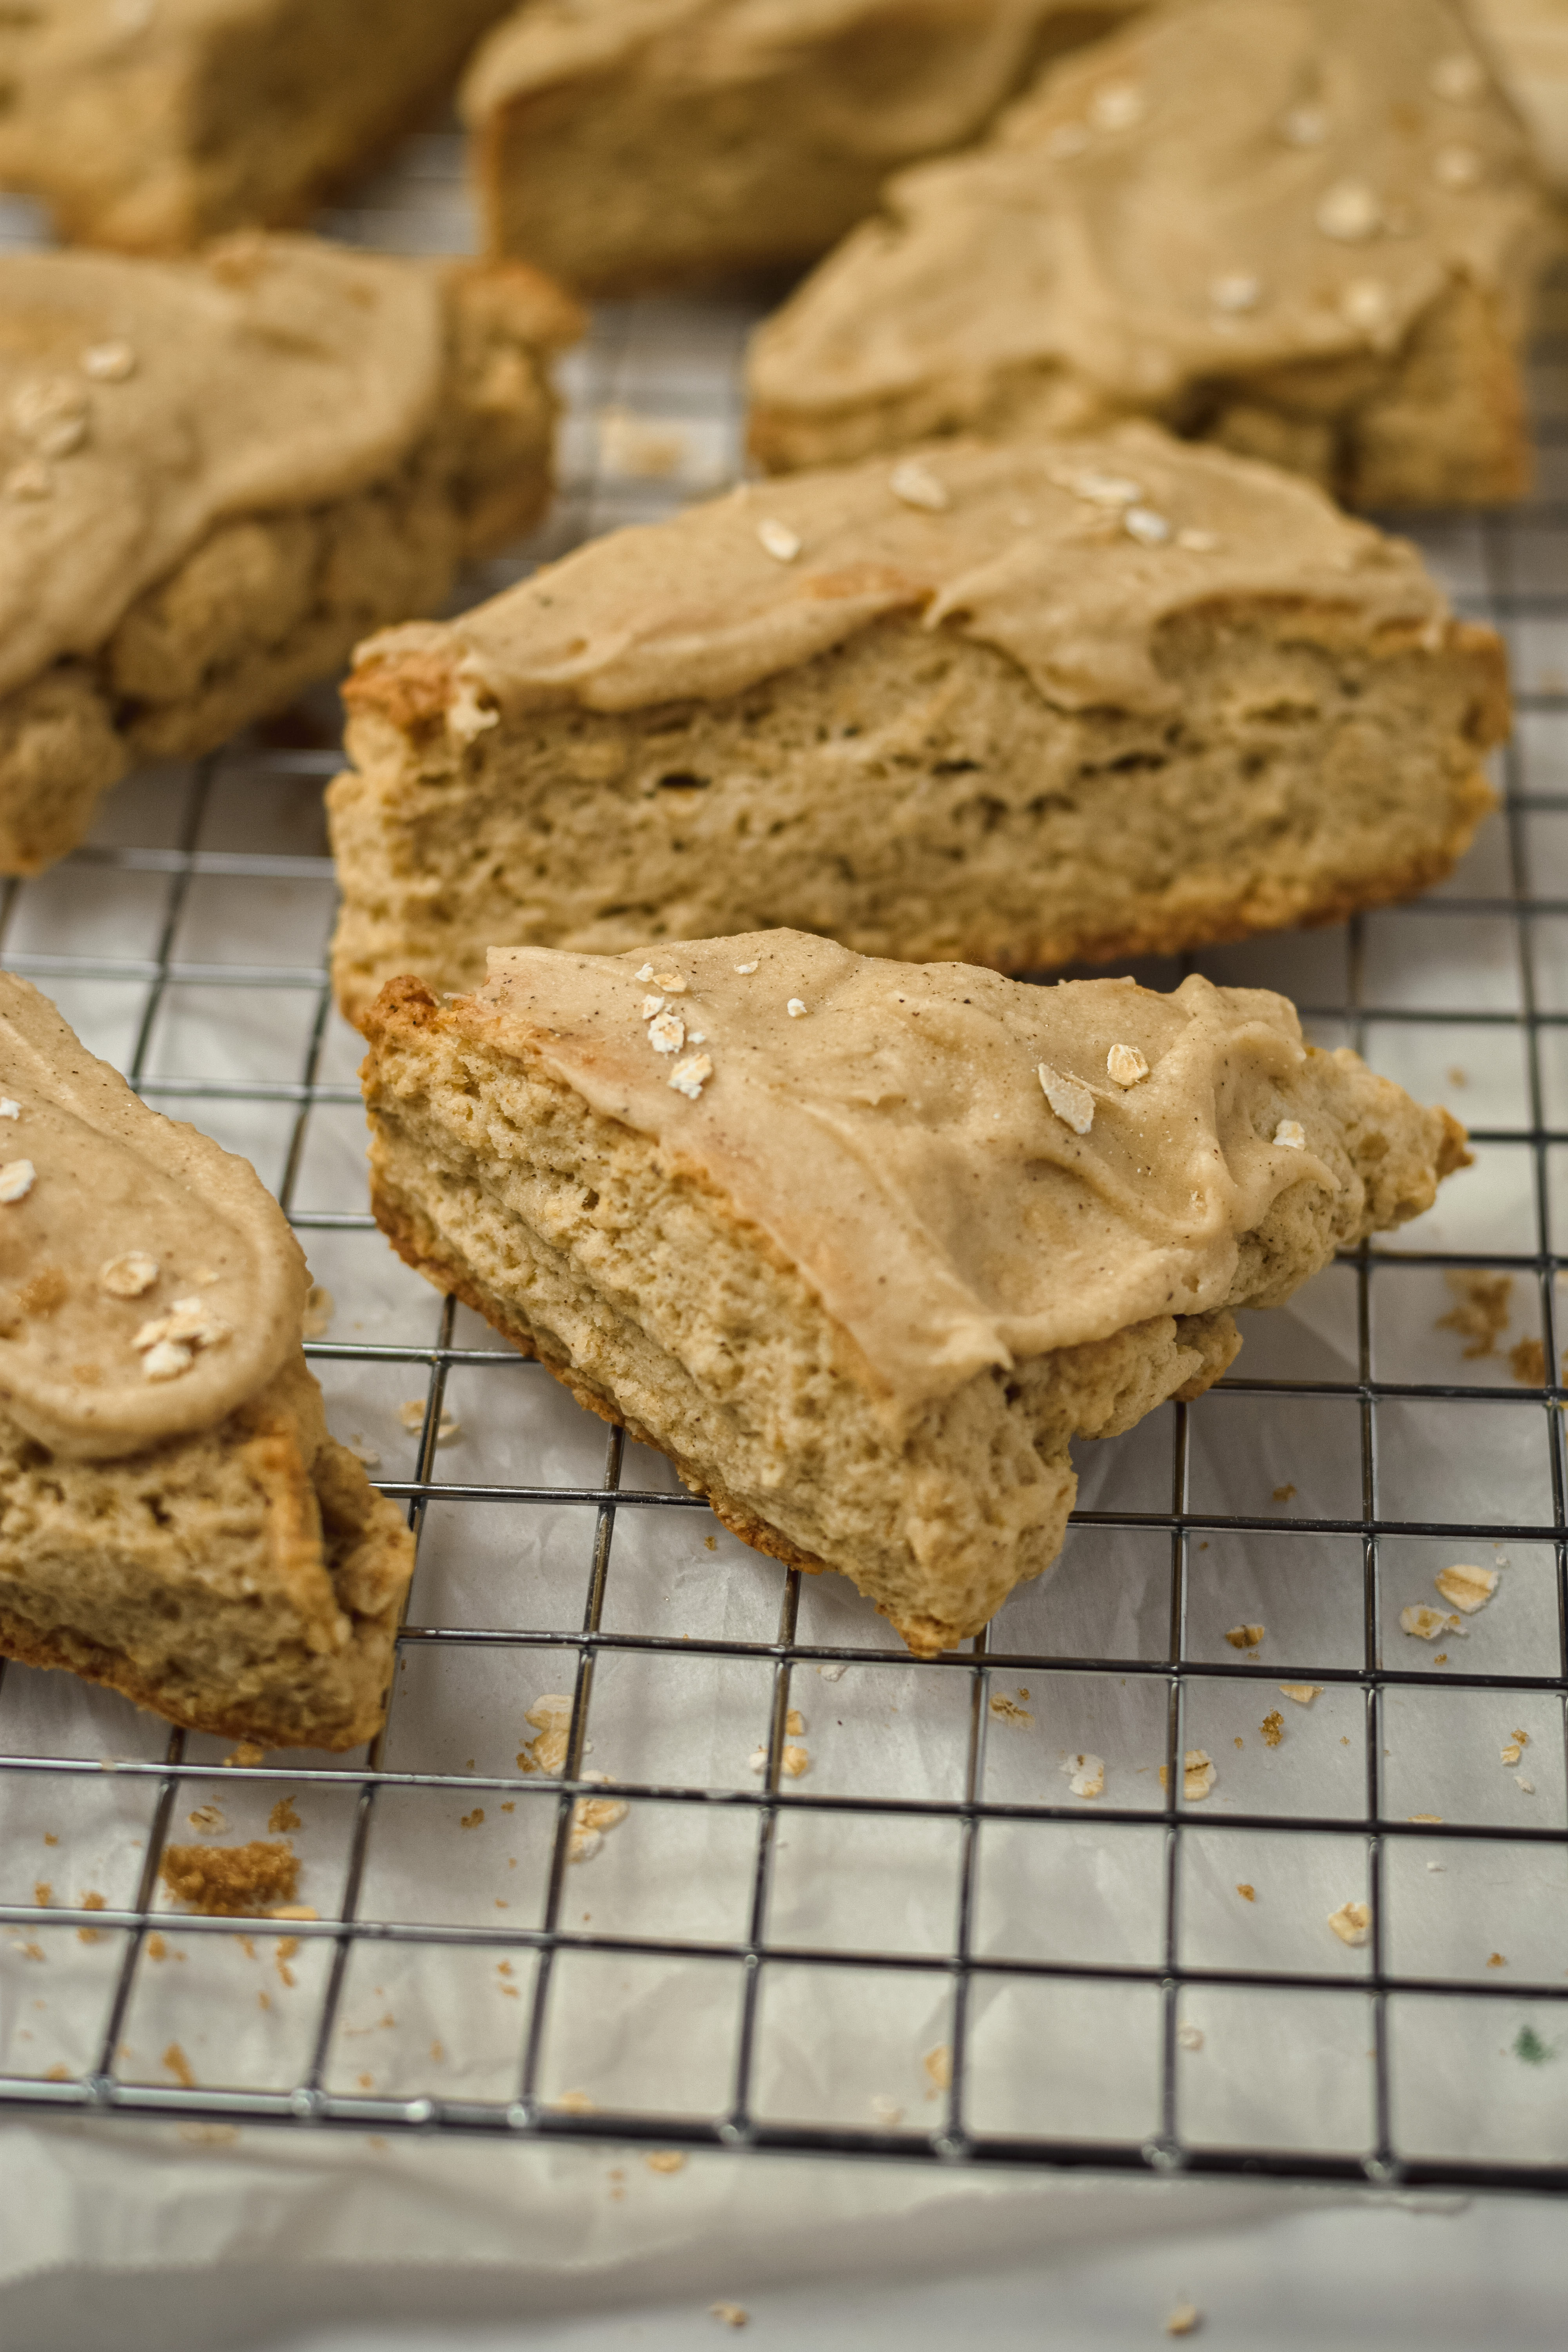
Cinnamon Oat Scones with Brown Butter Icing

Pumpkin Scones with Maple Glaze
Ingredients
- 304 g All purpose flour (1 3/8ths cup)
- 50 g Sugar (1/4 cup)
- 25 g Brown sugar (2 Tbs)
- 2 tsp Baking powder
- 2 tsp Pumpkin pie spice
- 1/2 tsp Cinnamon
- 1/4 tsp Salt
- 113 g Unsalted butter (1 stick)
- 125 g Pumpkin puree (1/2 cup)
- 115 g Heavy cream (1/2 cup)
Maple Glaze
- 120 g Powdered sugar (1 cup)
- 2 tbs Butter
- 2 tbs Maple syrup
Instructions
- Preheat the oven to 400 F. Place your baking tray in the oven so that it is hot when you place your scones on it to bake.
- Cut your butter into tiny, ¼-½ inch cubes. The smaller they are, the easier it will be to incorporate them later. I like to use a bench scraper to cut my butter! Place butter chunks onto a plate or bowl and keep in the freezer while you prepare your other ingredients.
- In a large bowl, mix together flour, sugar, brown sugar, baking powder, salt, cinnamon, and pumpkin pie spice. Mix until thoroughly combined.
- Grab your butter out of the freezer and toss it into your flour bowl. Using a pastry cutter or your hands, cut the butter into your flour mixture. If using your hands (my favorite method) you can pick up large chunks of butter and rub them between your thumb and the rest of your fingers to flatten them out into the flour mix. Think about the hand gesture you use when referencing money! Keep doing this until you’re left with only small, flat-ish chunks of butter. They should be no bigger than peas. If you feel your butter is melting or not staying cold, place your mixing bowl in the freezer for about 15 minutes and then resume.
- In a separate bowl, mix together heavy cream and pumpkin puree until there's no more large pumpkin chunks. Use your hand to create a well in the center of your mixture. Pour in 3/4ths of the cream/pumpkin mixture. Make sure it’s cold! Then use your hand to bring the outside mixture into the center where you poured the cream. Gently mix until all your flour mixture is coated in cream. Slowly add in more cream as needed. Refer to the picture under “tips for success” to get an idea of what your dough should look like.
- Turn your dough out onto a lightly floured surface. Pat dough down into a rectangle about 8 x 12 inches. You can use a rolling pin for this, but roll lightly as you don't want to crush the layers! From here, fold the dough into thirds like an envelope. NOT lengthwise. Take your folded dough and turn it so that the fold seams are running vertically. This is one "turn." Roll your dough back into another 8×12 inch rectangle and repeat the folding process (turn) two more times. You should have folded and rerolled it three times when you're done. End with the dough back in an 8×12 inch rectangle so you can cut the scones.
- Cut your rectangle down the center vertically and horizontally so that you now have 4 rectangles. Cut each rectangle diagonally so that you end up with 8 triangles in total.
- Take your baking sheet out of the oven and line with parchment paper. Place your scones 2 inches apart. They shouldn’t spread much in the oven. Bake at 400 degrees F for 12-16 minutes until the top starts to get a light golden crust. You can also test these by gently touching the top of it. It should spring back when it is cooked completely. Let cool for 5 minutes before icing.