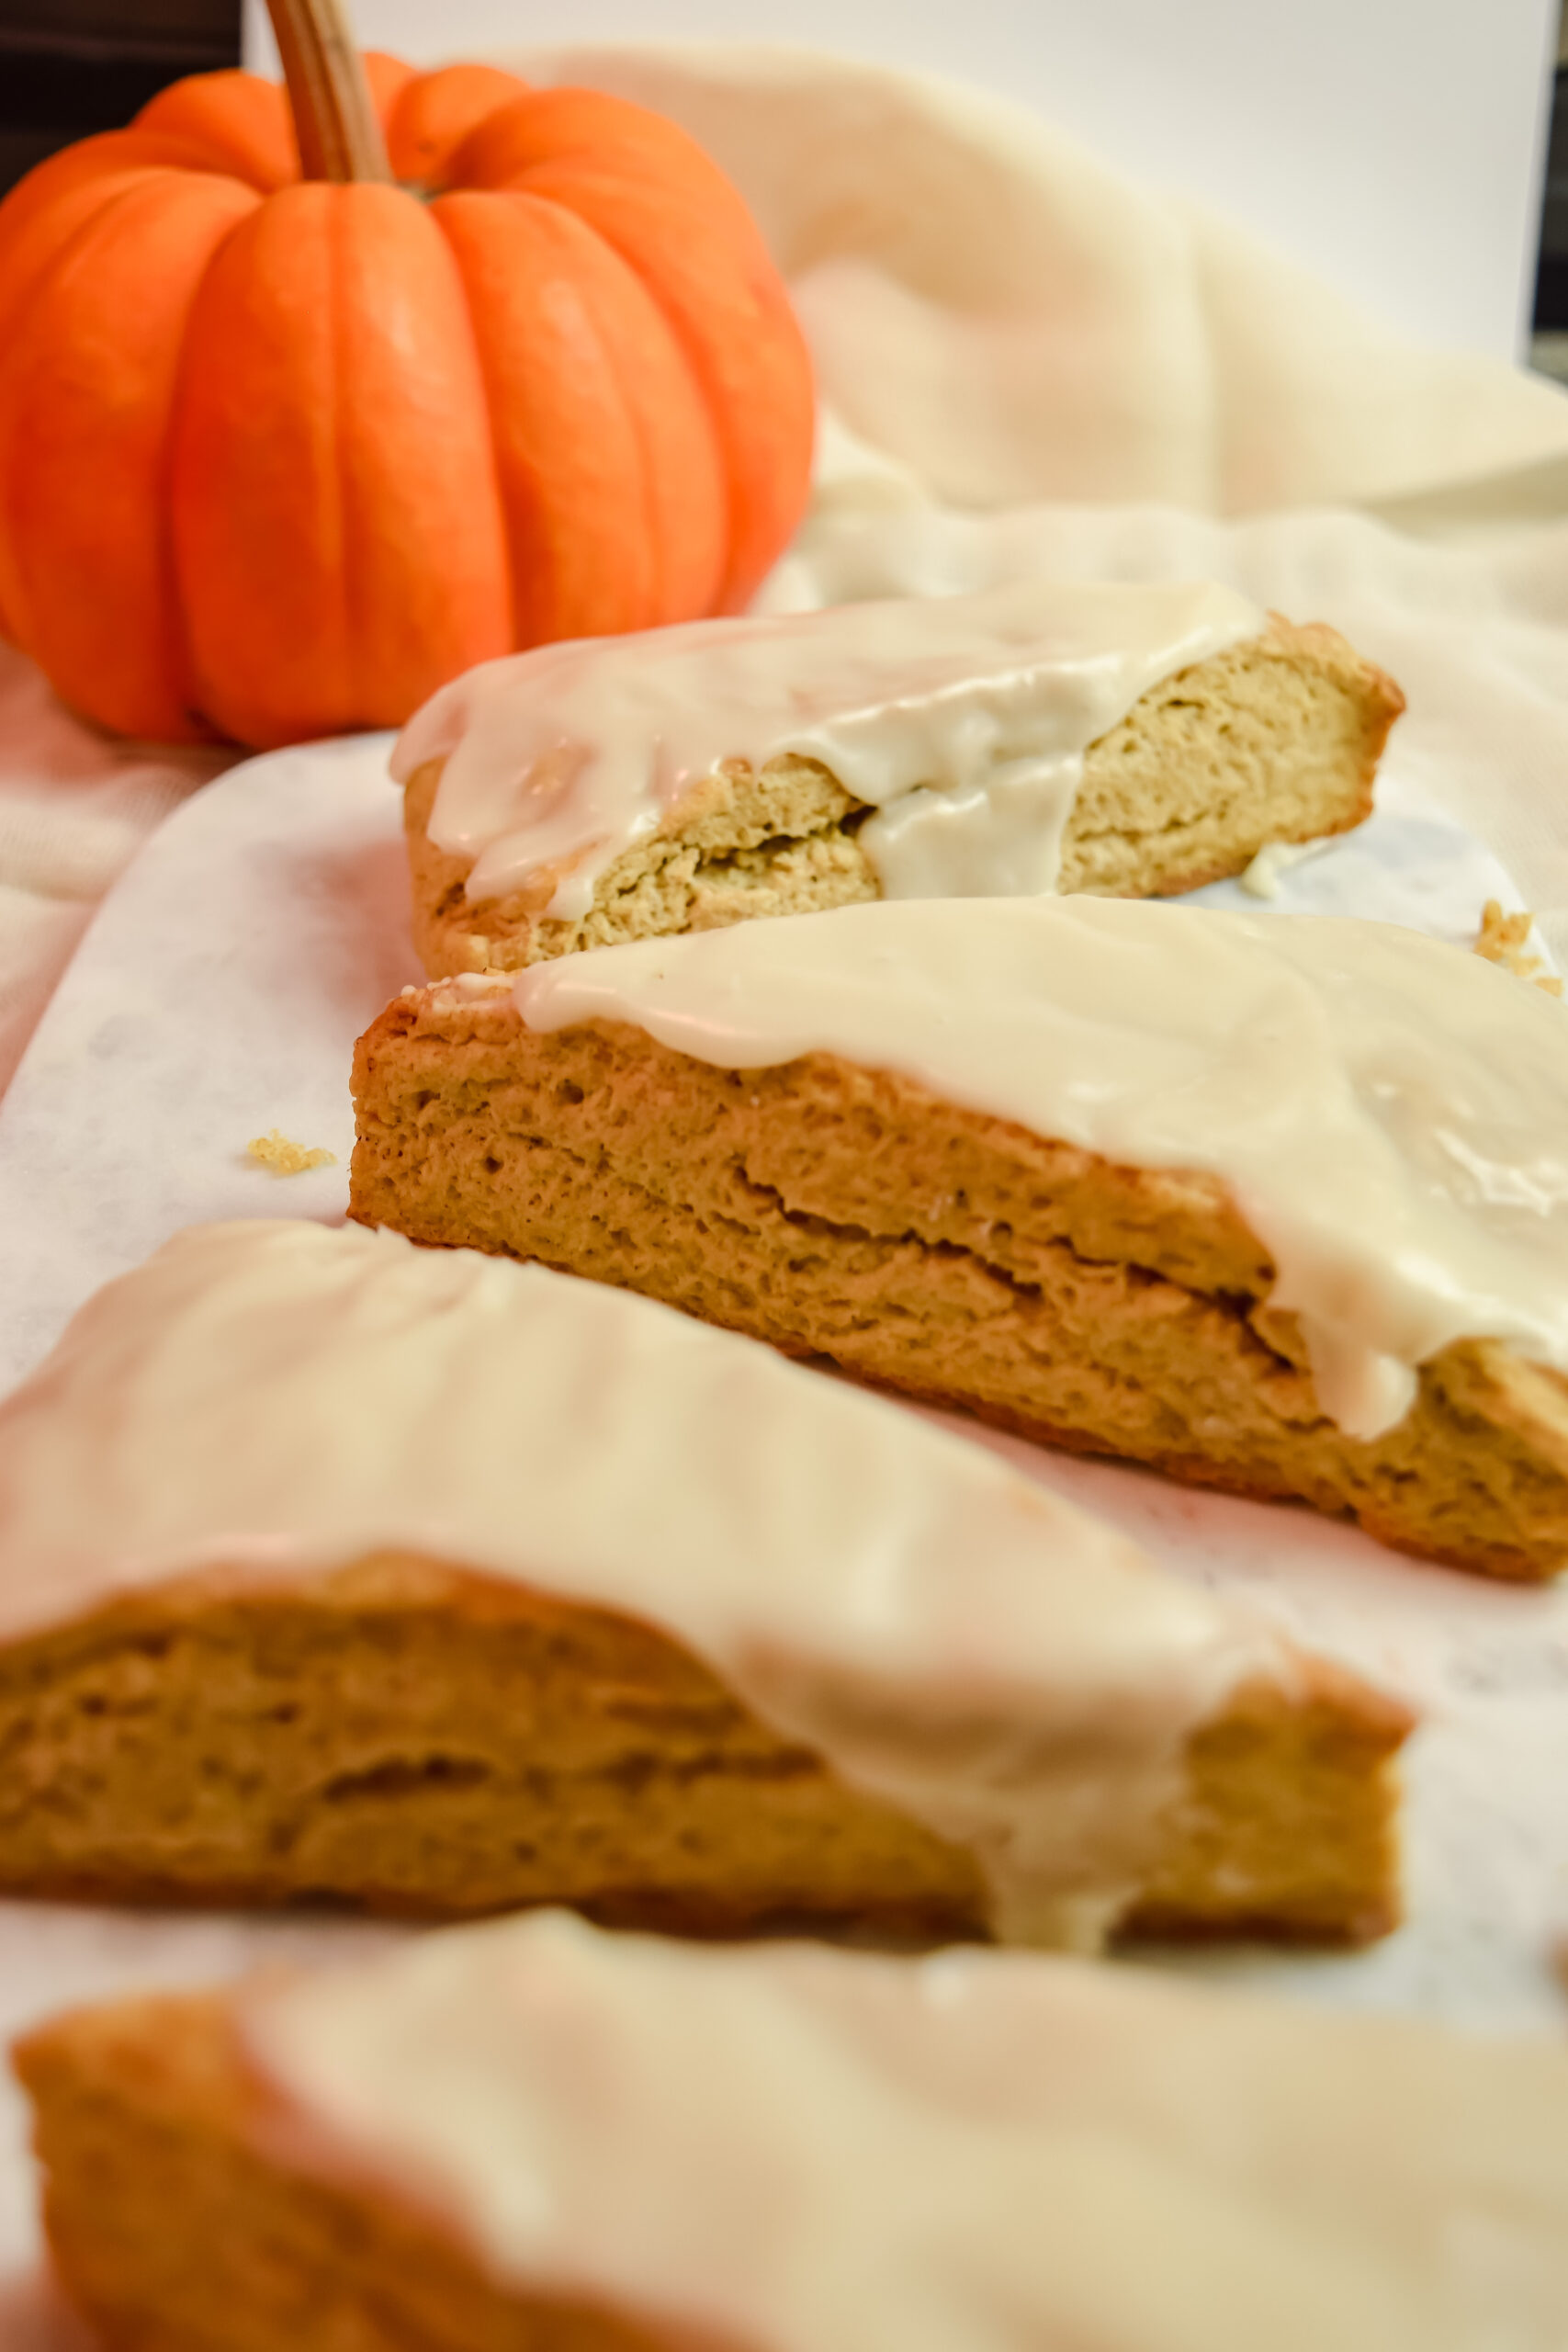
Ginger is one of the most underrated flavors in my opinion. Ginger is so delicious when it’s freshly grated, which is exactly what we’re doing for these scones! These triple ginger scones are a rich, cream-based scone packed with freshly grated ginger, candied ginger, and topped with a ginger icing. They are any ginger-lover’s dream!
What ingredients do you need for triple ginger scones?
Ginger: So. Much. Ginger. For this recipe, you will need 1 Tbs of fresh ginger (about 2 inches), candied ginger, and ground ginger.
Heavy cream: Heavy cream is what gives this scone a super rich but tender texture. Seriously, these melt in your mouth.
Butter: Butter tenderizes the scone and adds flavor. Using cold butter will produce a beautiful flakiness to these scones.
Brown sugar: This is my secret ingredient for all my scones. It adds even more tenderness to the scone and compliments the ginger super well.
What is the secret to making good scones?
I have two secrets to the perfect scone. 1) Keep your ingredients very cold. 2) Laminate your dough like pastry!
If you want perfect scones, you need to keep your butter, heavy cream, and dough as cold as possible. When the scones bake, the chunks of cold butter will melt and create layers in the dough. This is how croissants are made! If your butter is too warm when you bake your scone, you won’t get any layers in your dough. Keeping the other ingredients cold just helps ensure that the butter doesn’t melt too quickly. If at any point you feel your dough is getting too warm and the butter is melting, place your dough in the freezer for 10-15 minutes until it gets cold again.
To laminate your dough just means to fold the butter into your dough. It’s how you get all the flaky layers in pastries. To “laminate” this dough we are going to gently roll it out into a rectangle like so.

Next, fold the top and bottom of the dough to overlap each other.

Turn the dough so that the seam now runs vertically.

Add a little bit more flour and repeat two more times until you’re left with an 8×12″ rectangle. Then, cut your scones dough into 8 even triangles.
What is the right consistency for scones?

You can see in the picture above that my dough still looks pretty dry. However, when you squish it together with your hands it will start to stick together. The more you work the dough, the more it will come together. Just be careful not to overwork it because you don’t want your butter to melt at all.
If your dough is so dry that you squish it in your hand and it immediately crumbles apart, start adding more heavy cream 1 tablespoon at a time, or 1/2 tablespoon if your dough is almost there. Be sure to mix the heavy cream all the way through the dough before adding more. Sometimes you don’t need more liquid, you just need to keep mixing. Make sure you are getting all the bits of flour from the bottom of the bowl and incorporating it into the dough.
If your dough is way too sticky to work with, you have probably added too much heavy cream. If this is the case, don’t panic! Flour your surface and hands really well when you tip out the dough. Continue to add a little more flour if the dough is continuing to stick to everything. Your dough should eventually come to a regular consistency. They will still taste great, they just may lose a little height and flakiness.
How to freeze scones
These scones will keep for up to 5 days at room temperature, but are much better freshly baked. These scones will keep well in the freezer for up to 3 months. You can freeze the raw scone dough by wrapping each individual scone in tightly in plastic wrap and baking them straight from frozen, adding an extra 3-5 minutes to the bake time. Or, you can freeze these scones after they have been baked and frosted. Simply wrap each scone individually in plastic wrap and de-thaw them you are ready to eat them.
If you love these you’ll also love…
Perfectly Flaky Maple Pecan Scones You’ll Love
Cinnamon Oat Scones with Brown Butter Icing
The Best Raspberry White Chocolate Scone Recipe
Triple Ginger Scones
Equipment
- 1 Large mixing bowl
- 1 Rolling Pin Optional
Ingredients
- 113 g Unsalted butter, cold & cubed 1 stick
- 304 g All purpose flour 2 ⅛ cups
- 50 g Granulated sugar ¼ cup
- 25 g Brown sugar 2 Tablespoons
- 1 teaspoon Baking powder
- ½ teaspoon Salt
- 1 Tablespoon Freshly grated ginger About 2 inches of ginger root, peeled
- 215-230 g Heavy cream, cold 14 ½ – 15 ½ Tablespoons
- 80 g Candied ginger, diced Heaping ⅓ cup
Ginger Icing
- 120 g Powdered sugar 1 cup
- 1 teaspoon Ground ginger
- 2 Tablespoons Milk of choice
Instructions
- Cut your butter into really small, pieces. Place your cut up butter into the freezer while you prep your dry ingredients.
- In a large mixing bowl, combine the flour, granulated sugar, brown sugar, baking powder, salt, and freshly grated ginger. Mix until combined.
- Get your butter out of the freezer and add it to your mixing bowl. Use a pastry cutter, two forks, or your hands to crush the butter into the flour mixture. Aim to flatten the butter chunks into the flour mixture by rubbing the mixture between your thumb and fingertips. Repeat this until you're left with only small chunks of butter, about pea-size.
- Create a hole in the middle of your mixture by pushing the mixture to the edge of the bowl. Pour half the heavy cream into the well and start bringing the dough together with your hand or a wooden spoon. Mix until all the heavy cream is distributed.
- Add in heavy cream 1 tablespoon at a time until the dough reaches the right consistency. It should remain broken apart in large chunks, but it should hold together when you squeeze it in your hand. Be sure to mix thoroughly for at least 20 seconds before adding more heavy cream. Refer to the picture above! Save any leftover heavy cream and set aside.
- Gently fold in the candied ginger chunks and tip the dough onto a lightly floured surface.
- Use your hands to bring the dough together into a rectangle about 1 inch thick.
- Very lightly use a rolling pin to flatten your rectangle to about 8 inches wide and 12 inches long (about the length of your forearm). Fold the top and bottom of the dough towards the center till they overlap each other completely. (Refer to picture above!)
- Add a little more flour onto your surface and turn the folded dough so that the seam is running vertically. Roll the dough into an 8×12" rectangle and repeat the whole process two more times.
- Once you end on your final 8×12" rectangle, cut the dough into 4 rectangles by cutting the dough down the middle horizontally and vertically. Then, cut each rectangle diagonally so that you end up with 8 triangles.
- Place your scones in the freezer for 20 minutes while you preheat your oven to 400 F.
- Optional: Lightly brush the tops of your scones with heavy cream and sprinkle with Demerara sugar
- Bake at 400F for 15-18 minutes until the bottom is golden brown and the dough no longer appears wet. They will continue to cook on the pan after they come out of the oven, so it's better that they are slightly underdone.
- Let scones cool for 10 minutes before icing.
Ginger Icing
- In a small bowl, whisk together the ground ginger, powdered sugar, and milk until there are no more lumps. If your icing is too thick, add a splash of milk and mix until you get your desired consistency. If it's too thin, add more powdered sugar 1/2 tablespoon at a time to thicken. Use a spoon to spoon the icing on top of the scones.


